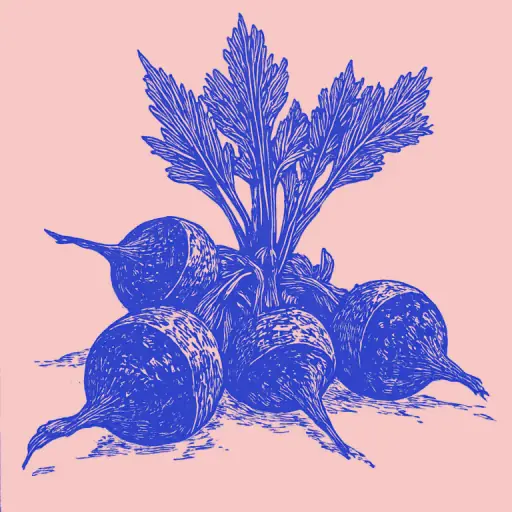
How to Pickle Beets for Winter and Achieve a Vibrant Color
- 7 min read
- 18
Friends, welcome to the world of winter provisions! Pickling (Fermenting) is not just "putting vegetables in brine." It is a controlled fermentation process where lactic acid bacteria convert the sugars in the beets into acids. It is this acid that gives the pickled beets their unmistakable tangy flavor, which is so cherished at the winter table.
Why do this? Firstly, it is an incredibly nutritious method for preserving vitamins (especially B-group and Vitamin C), which are often lost during cooking. Secondly, pickled beets are the perfect contrast to rich meat dishes or serve as a base for a vibrant borscht. We are not simply "preserving"; we are transforming the product into a more concentrated and aromatic winter delicacy.
The goal of our article is to give you an algorithm to achieve the perfect texture (crunch!) and preserve the rich color of the pickled beets, which every homemaker dreams of. Are you ready for the culinary chemistry?
Secrets of Perfect Pickled Beets: Raw Material Selection and Preparation
80% of the success depends on the preparation, not on the actual process of pouring in the brine. Here we cover the basics.
Selecting the Perfect Beet: Tips for Variety and Ripeness Selection (Answer to the Color Question).
Not all beets are the same for preservation! This is the first and most important quality filter.
- Variety: For fermentation, we need a variety that exhibits a deep, rich Bordeaux color. Avoid light or pale specimens.
- Ripeness: Choose beets that have fully developed their root structure—they should be firm, heavy for their size, and show no signs of "fatigue" (softness). Too young or overripe beets result in a watery brine and lose their texture.
- Myth to Debunk: One should not strive for perfect smoothness. Slight irregularities in the skin are normal for fermentation, as they protect the flesh from oxidation until the fermentation takes place.
Preparing Vegetables: How to Peel, Cut (Whole vs. Slices), and the Brine for Fermentation.
1. Peeling: Wash the root vegetables thoroughly under running water. You can remove the skin or leave it on in some cases (especially if using a barrel), but for jars, it is better to scrape off the top layer of soil and dirt. Important: Do not over-peel—leave a small part of the skin on large root vegetables; it serves as natural protection.
2. Cutting (Whole vs. Slices): This depends on the desired texture and the type of preparation:
* Whole for Fermentation (in a barrel/large container): If the beet is large, it can be pickled as a whole root vegetable. This results in a more "natural" appearance.
* For Jars (the most popular variant): It is recommended to cut them into half-rings or thin slices. This shape ensures maximum contact surface area with the brine, which accelerates and stabilizes the fermentation process. If you are making a stock for borscht, narrow strips are ideal.
3. Brine: We will come back to this later, but remember: the brine must not only be salty but also balanced in terms of salt and acid concentration (if you are using vinegar).
Step-by-Step Masterclass in Beet Fermentation
Here we move from theory to practice. We work with the principles of fermentation.
Basic Recipe: Preparing the Perfect Brine (Answer to the Brine Question).
Brine Preparation Algorithm:
- Water: Use filtered or soft water at room temperature. Hard water can contain minerals that affect color and taste.
- Salt: The classic recipe requires 50–60 g of salt (preferably coarse rock salt) per 1 liter of water. Salt is not just a flavoring agent but also an environmental regulator that suppresses the growth of pathogenic microflora and allows only the beneficial lactic acid bacteria to work.
- Additional Activators (optional): To enhance the fermentation, you can add 1–2 bay leaves and a few black peppercorns—they do not affect the color but add depth to the aroma.
Example Calculation: For 10 liters of water, about 500 g of salt is needed. Stir until completely dissolved while the brine is cold.
Fermentation Process and Quality Control: From Layering in the Container to Final Storage (Fermentation Times).
Process Phases:
- Layering: Place half of the cut beets on the bottom of a clean, sterilized jar. On top, place a layer of brine. Repeat the layers: Beet / Brine. Finish the top layer with beets and pour in the remaining brine so that it covers the vegetables by 2–3 cm.
- Weight: Absolutely place a weight (e.g., a clean plate with a jar filled with sand or water). The weight serves to keep the beets under the brine—this is crucial, as the vegetables would otherwise oxidize with air and lose color.
- Fermentation: Leave the jars at room temperature (optimally 18–22°C) for 5–7 days. Regularly remove foam—this is a natural process, but its removal prevents mold growth and gives the brine clarity.
- Control: Fermentation is considered complete when the active gas development subsides and the taste is pleasantly sour, but not sharp. After this, the beets must be moved to the cold (refrigerator or cellar).
Preservation Championship: How to Achieve Perfect Texture and Color for Storage
Here we solve the main problems of the preserver: color and crunch.
Maintaining the Vibrant Bordeaux Color: Culinary Tricks for Maximum Pigment (Answer to the Color Question).
Color fading is oxidation, caused by contact with oxygen. To prevent this, use the following technical methods:
- Acid Buffer: A small addition of citric acid or apple cider vinegar (to the brine) helps stabilize the pigment anthocyanin, which is responsible for the color.
- Minimizing Air Contact: As mentioned, a weight is essential. Furthermore, when layering, you can use leaves from blackcurrant or cherry—their tannins and natural aroma not only improve the taste but also act as natural color stabilizers.
- Temperature: Avoid drastic temperature fluctuations in the first few days after fermentation. A gradual cooling slows down chemical oxidation reactions.
Comparison of Storage and Usage Methods: Fermenting vs. Pickling vs. Freezing (Overall Picture).
| Method | Chemical Process | Taste/Texture | Advantages | Disadvantages |
|---|---|---|---|---|
| Fermenting | Fermentation (Acid) | Sour-sweet, tangy, crunchy. | Maximum vitamins, natural flavor. | Requires time and process control. |
| Pickling | Preservation (Vinegar/Sugar) | Mild, vinegary accent. | Quick, predictable result. | Some vitamins are often lost; can become too sour. |
| Freezing | Physical Preservation | Slightly watery, neutral taste. | Maximum speed of preservation. | Texture change (loses crunch), requires prior cooking/cutting. |
Conclusion: If your goal is to retain as many nutrients as possible and achieve a "living" fermented product, choose fermentation.
Usage Ideas for Pickled Beets: From Snack to Borscht Filling
Pickled beets are not just an ingredient; they are a flavor enhancer. Here are some application algorithms:
- Classic Borscht: The pickled beets cut into thin strips should be added at the end of cooking (or served separately). Their acidity "lifts" the entire borscht, giving it depth and a vibrant ruby-red hue.
- "Winter Load" Salad: Mix the pickled beets with cooked carrots, season with unrefined sunflower oil (to preserve aroma), and add chopped garlic. This is a perfect snack.
- Beet Pâté for Winter: If you desire a thicker consistency, you can prepare beet pâté. Cook the beets until soft, puree them, and mix them with a small amount of vinegar, pepper, and garlic. This is an excellent spread for bread.
Mentor's Tip: If you want to give the pickled beets spice without cooking, try adding a little hot chili ketchup (as in quick recipes) and a pinch of cumin before serving. This enhances the effect of the flavor's "winter awakening."